Wrestling makeup and face paint hold up under lights when the pigment is dense, the binder resists sweat, and a setting layer locks both to the skin. Get those three right and your design stays opaque and matte through a match in front of a hard key light and a camera. Get them wrong and it goes shiny, streaks and runs within ten minutes.
Most independent wrestlers paint their own face in a hallway or a car with a mirror propped on the trunk, right after entrance music starts. That gives you a narrow window, so the routine below is built for speed first and detail second.
This guide covers the full arc: prepping skin, laying a base, painting in layers, setting the design, checking it under bright light, and taking it off without wrecking your skin for the next booking. Expect 30 to 45 minutes for a full design, and five minutes for a touch-up between matches.
Table of Contents
- What You Need
- Step-by-Step
- 1. Prepare the skin without creating a slippery base
- 2. Use a thin, matte base that matches the lighting
- 3. Apply face paint in controlled layers
- 4. Set the design with powder and a compatible spray
- 5. Test the finished look under arena-like light
- 6. Carry a small emergency touch-up kit
- Common Mistakes
- Frequently Asked Questions
- What type of face paint is best for wrestling under bright lights?
- How can I stop wrestling makeup from smearing when I sweat?
- Does face paint look different on camera than it does in person?
- How long should wrestling makeup and face paint dry before performing?
- Can I use regular body paint for professional wrestling?
- How do I remove heavy face paint without irritating my skin?
- Conclusion
What You Need
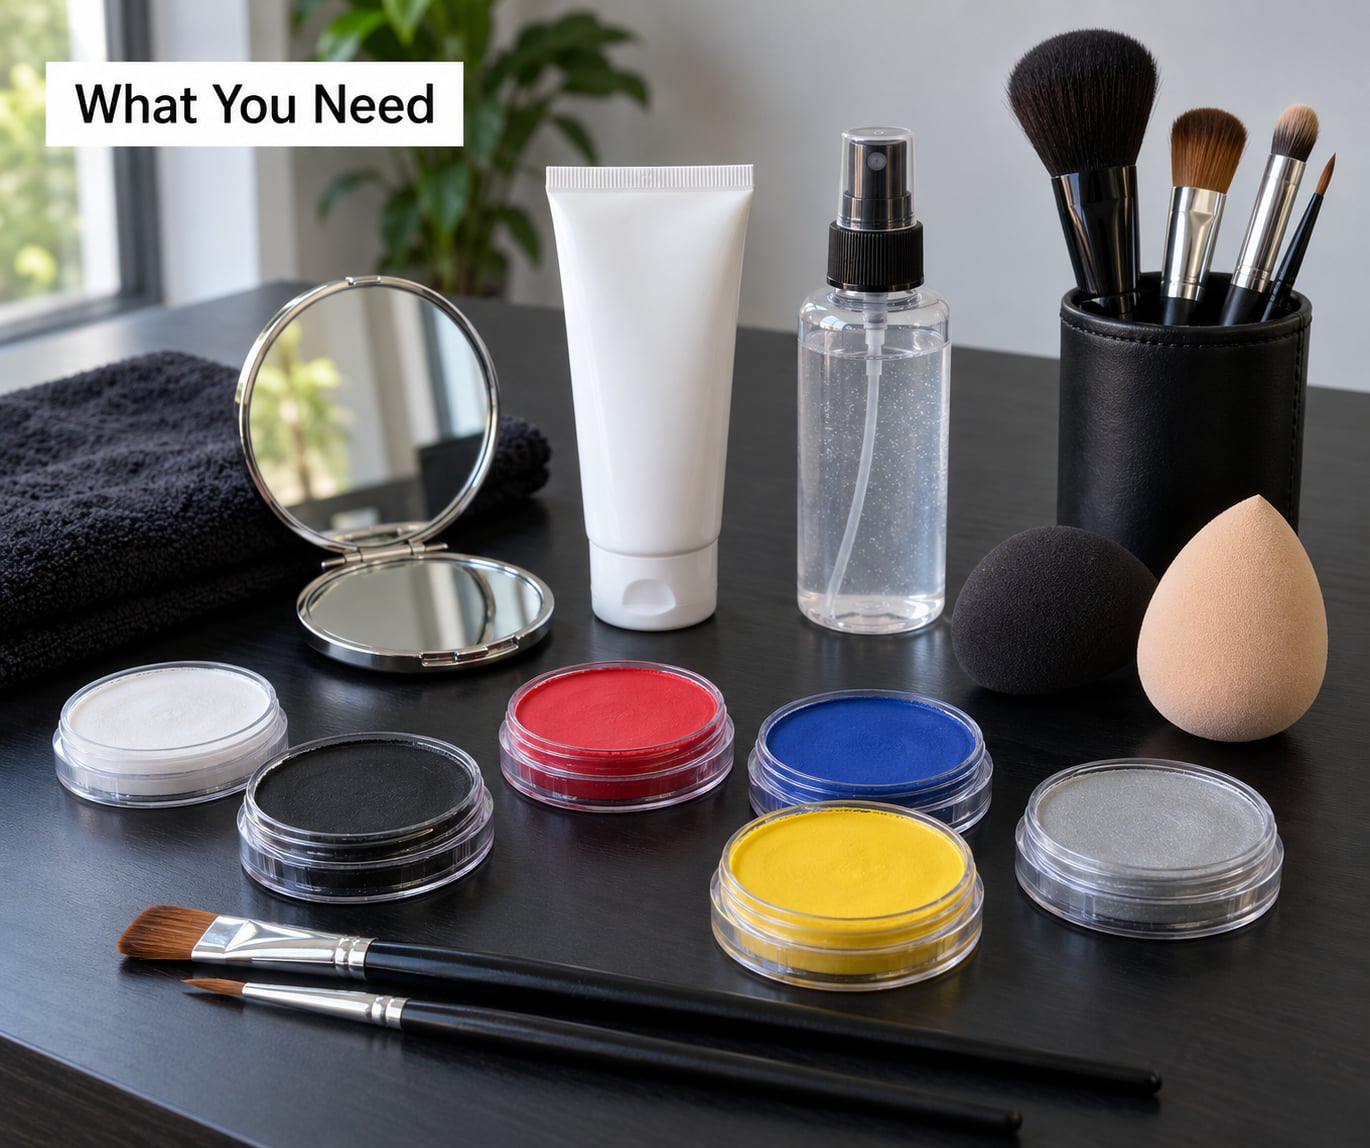
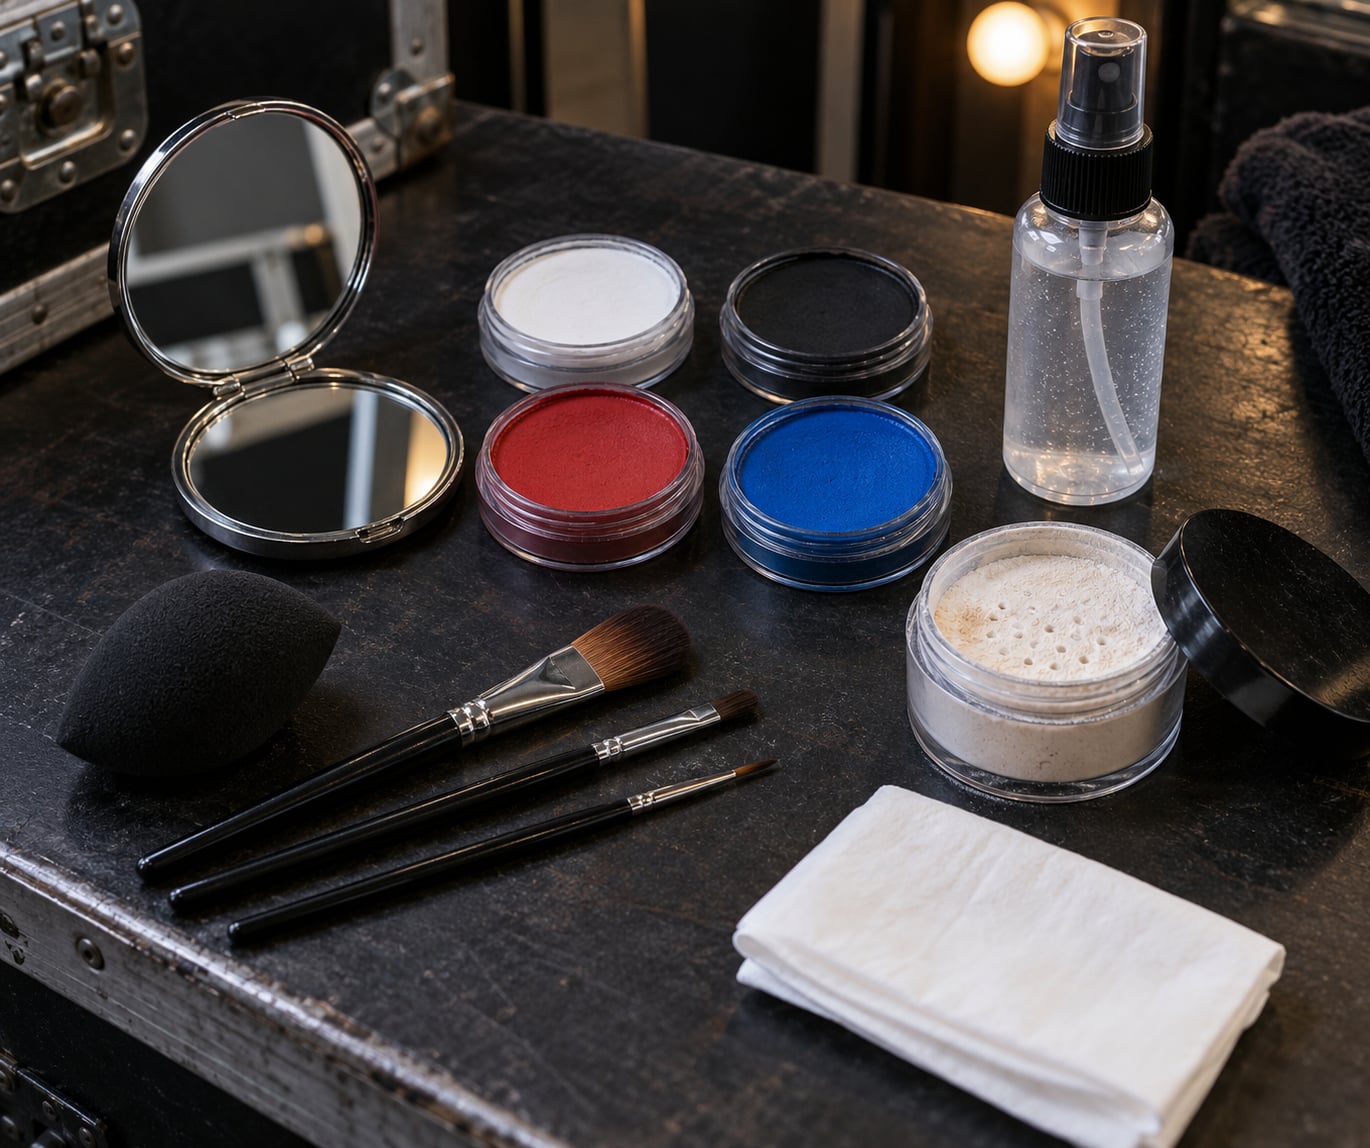
Start with skin prep. You need a gentle cleanser, a lightweight moisturiser, sunscreen, and matte blotting papers or a setting powder to take the shine off before any colour goes on.
Then you need base and colour. A thin, matte, high-coverage base handles the skin tone; heavy face paint or grease paint in your gimmick colours handles the design. Brushes matter more than people expect: a flat shader brush for blocks, a small detail brush for line work, and a damp sponge for blending edges.
Setting products do the real work here. Translucent setting powder, a matte finishing spray that is safe over paint, and a clean sponge for tapping are what separate a design that survives contact from one that wipes off on your opponent’s shoulder.
You also need a mirror you can hold at face height, a bright light source to check against, cotton rounds and cleanser for removal, and a small zip bag for touch-ups. Independent wrestlers on multi-match cards keep one kit per bag so nothing gets left behind in a venue bathroom.
Step-by-Step
1. Prepare the skin without creating a slippery base
Cleanse, moisturise, apply sunscreen, then let everything absorb for five to ten minutes. Then blot. This is the step most people rush, and it is the one that decides whether sweat slides off the design or reactivates it.
How do you know the base is right? Tilt your head under a bright light and look for any specular highlight. If you see one, blot it and wait another two minutes. Moisturiser left unblotted gives you slip; sunscreen with no wait time underneath paint pills and flakes.
2. Use a thin, matte base that matches the lighting
Apply base in thin layers with a damp sponge, one thin layer at a time, letting each set before adding the next. Thick layers stay tacky, and tacky base is the number one reason colour shifts under a hot light.
Check the finish under a bright, cool light before you add any design colour. If the base looks noticeably paler and flatter under the bright light than it does in a dim room, deepen it one shade. Wrestlers on stream usually need a shade darker than looks right backstage, because arena rigs wash skin out.
Finish with a light dusting of translucent powder before colour. That single step cuts shine dramatically and gives the paint something to grip.
3. Apply face paint in controlled layers
Map the design in thin outline first, using a product you can correct. Then fill in the blocks with a flat brush and let each colour dry to the touch before you place the next one on top. Working wet into wet is what causes mud and smears.
Two or three complementary colours read better from the cheap seats than six muddy ones. Keep edges intentional rather than feathered, because soft edges disappear once sweat and light hit them.
How do you know a layer is dry? Tap the edge with a clean fingertip. If it feels tacky or leaves a mark, wait. Most face paint needs 60 to 90 seconds per layer, and longer for thick blocks. Layers built this way are what make wrestling makeup and face paint hold up under lights instead of migrating mid-match.
4. Set the design with powder and a compatible spray
Set in this order: translucent powder first with a light hand, then a matte finishing spray from about 20 centimetres away. Spray first, then powder, leaves a chalky cast that reads flat on camera, which some gimmicks use deliberately.
Do not over-saturate. Two or three sprays of a matte fixative, each after a light layer, beat one soaking pass that soaks the design and can make it move again once it reactivates.
Check for transfer before you leave. Press a clean white tissue to your cheek and forehead. Any colour on the tissue means the design is still moving, and you need another round of powder or spray.
5. Test the finished look under arena-like light
This is the step that separates a design that works live from one that only works in a dressing room. Check it under four conditions: bright cool light, warm light, moving light, and your phone camera with flash.
Move around under the bright light rather than standing still. Hot spots sit on the high points of the face — the brow, cheekbone, nose bridge and chin — and they are the first thing to blow out on camera.
Look for four things: shine on the high points, gaps along the hairline or jaw, uneven edges where a colour thinned out, and light colours that read as white once they clip. A flash photo right here is the honest test of how the design will read on a stream.
6. Carry a small emergency touch-up kit
Put this in a zip bag: the two or three colours you actually used, a small powder pot with a sponge, blotting papers, a clean sponge, and a matte setting spray. Skip everything else, because a full kit in a venue hallway is a kit that gets left there.
Between matches, blot first and touch up second. Rubbing a dried line with a finger is what creates the smeared patch you were trying to fix. Press the sponge on, lift straight off, then re-dust with powder.
Photo the design when it is finished. Comparing that shot with how it looks right before your next match tells you exactly what your sweat rate is doing to the paint, and that changes how much powder you need next time.
Common Mistakes
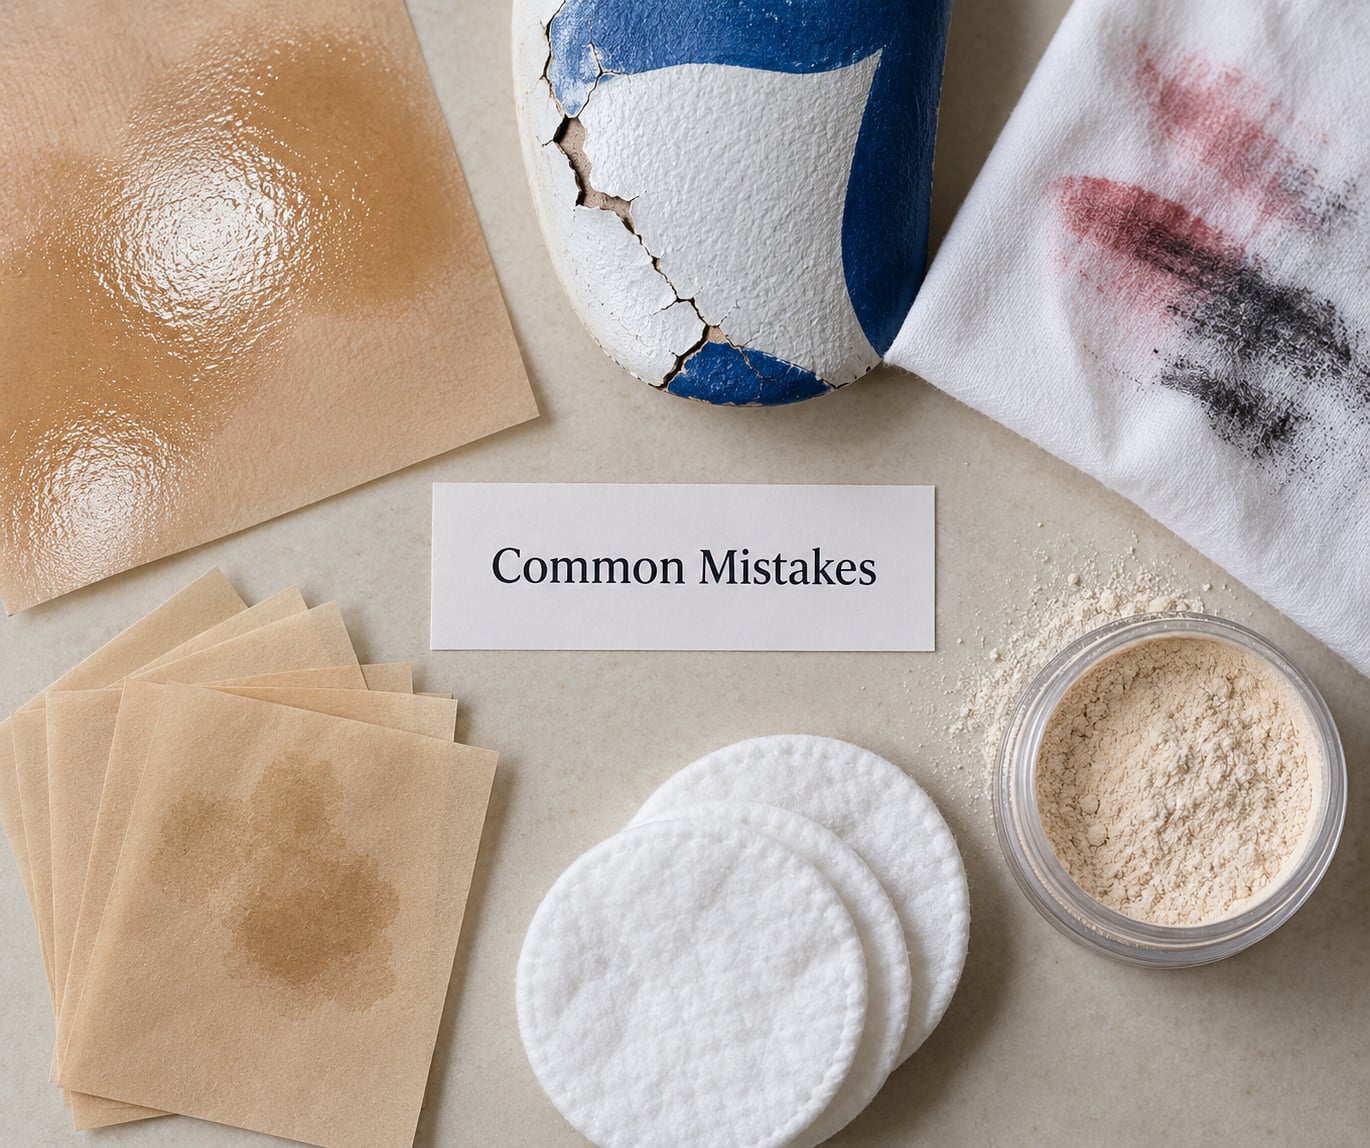
Applying too much product. Thick layers stay tacky, crack across the cheek, and flake into your opponent’s eyes. Fix: two thin layers with a dry-down between them always beat one heavy coat.
Using oily or silicone-heavy products on top of paint. Anything with a high oil or silicone content sits on the surface and turns the design into a mirror under a hot light. Fix: matte setting products only, and keep moisturiser off the face in the hour before you paint.
Ignoring skin folds and the hairline. Paint on the neck crease and along the hairline cracks first and flakes into the eyes. Fix: keep the design off high-movement folds, or seal those areas with an extra dusting of powder.
Choosing colours that disappear under glare. Pale yellows, light pinks and thin whites clip to pure white under a hard key light. Fix: test on camera, and deepen any colour that flattens out.
Using shimmer and metallic paint across a large area. Fine shimmer particles act like tiny mirrors and create hot spots across the brow and cheekbone. Fix: restrict metallic to small accents, or use a larger-particle sparkle that reads as a shape rather than a glare.
Removing makeup too aggressively. Scrubbing takes 30 minutes and leaves skin irritated for the next booking. Fix: let the design soak with a cleanser for five minutes, then wipe gently and follow with moisturiser.
Painting right up to the lash line. Sweat runs downhill and carries pigment into the eyes. Fix: stop below the lashes, keep the design off the inner corners, and use a black line at the lash line rather than paint above it.
Frequently Asked Questions
What type of face paint is best for wrestling under bright lights?
Professional water-activated face paint with a high pigment load is the safest all-round choice for wrestling under bright lights. It stays opaque, dries to a matte finish that does not glare, and removes with cleanser rather than scrubbing. Grease and oil-based paint holds longer but goes shiny under a hard key light and transfers to opponents and mats. Matte black and matte white are described by wrestlers as the most reliable colours under any lighting rig.
How can I stop wrestling makeup from smearing when I sweat?
Cut shine before you add colour, then lock the design with translucent powder and a matte setting spray. Blotting rather than rubbing makes most of the difference, because rubbing drags dried colour across the skin. Keep moisturiser off your face for the hour before painting, choose high-pigment paint over thin party paint, and avoid shimmer across large areas. A press with a damp sponge and a lift straight off repairs a worn line without making it worse.
Does face paint look different on camera than it does in person?
Yes, usually more washed out and shinier. Bright arena lights and camera flash create specular highlights on the high points of the face, and pale colours clip toward pure white until the design stops reading at distance. That is why phone-camera tests matter before an entrance: check the design with flash on and walk around under a bright light. Deepening any colour that flattens out usually fixes it in one step.
How long should wrestling makeup and face paint dry before performing?
Give every colour layer 60 to 90 seconds to dry to the touch, and longer for thick blocks or detail work. The whole design should be finished and set at least 10 minutes before you need to be at ringside, which means starting 30 to 45 minutes ahead for a full paint. If you tap an edge and it still feels tacky or leaves a mark on your finger, it is not ready. Setting powder and spray need their own two to three minutes on top.
Can I use regular body paint for professional wrestling?
Regular craft and party face paint is thin, shiny and low in pigment, so it fades within minutes of a match and looks patchy under arena lights. It is fine for a costume or a photo shoot, not for a card you are being paid to wrestle. Body spray paint also dries to a film that cracks on high-move gimmicks. If you use body paint, treat it as a base colour only and build your actual design in professional face paint on top.
How do I remove heavy face paint without irritating my skin?
Soak first, wipe second. Apply an oil-free or gentle cleanser and let it sit for about five minutes to break the binder, then wipe with a damp cotton round instead of scrubbing. Follow with a second pass and a moisturiser, and remove everything within 24 hours rather than sleeping in it. Patch test new products 24 hours before a show, and if your skin is already irritated from a long card, skip the next layer of heavy colour.
Conclusion
Start with the base this week: pick two matte colours, blot properly before you paint, and photograph the finished design under a bright light and on your phone with flash. That one test will tell you more about how wrestling makeup and face paint hold up under lights than any product label will.