To create a wrestler in a wrestling video game, open the creator hub from the main menu, pick a base body, morph and sculpt it, add attire, a moveset and an entrance, then save the finished wrestler to a slot and drop them into matches or a Universe. Most major titles have one, and each one puts it in a slightly different place.
A first wrestler takes most people 20 to 30 minutes, and the hard part is not the sliders. It is deciding what kind of wrestler you are building before you start pushing buttons.
Table of Contents
- What You Need
- How to Create a Wrestler in a Wrestling Video Game
- Step 1: Choose the Right Creation Mode
- Step 2: Set the Wrestler’s Identity and Role
- Step 3: Build the Body and Appearance
- Step 4: Assign a Wrestling Style and Finisher
- Step 5: Set Behavior, Entrance, and Presentation
- Step 6: Test, Save, and Add the Wrestler to a Roster
- Common Mistakes
- Frequently Asked Questions
- Can I create a wrestler in every wrestling video game?
- How do I make a custom wrestler use my own moves?
- Can I add my created wrestler to an existing roster?
- Is it allowed to make a wrestler that looks like a real person?
- Can I create a wrestler on mobile or only on consoles?
- Conclusion
What You Need
You need three things: a wrestling game that has a character creator, a save file you are willing to use, and a rough idea of who the wrestler is.
Nearly every major wrestling release on current consoles and PC has some form of create-a-wrestler mode. The current 2K titles have the deepest one, with a full body morph, layered attire system, face sculpting, custom entrances and community sharing. AEW: Fight Forever has a solid but simpler editor that gets you a wrestler in far fewer clicks. Fire Pro Wrestling World leans on a grid-based paper doll approach, and mobile titles like Wrestling Empire give you a more arcade, less anatomical version of the same idea.
Two details are worth checking before you start, because they cause the most frustration later. First, edition and platform matter. The same game on a base edition and a deluxe edition can carry different creation limits, and PC installs sometimes separate the creator tools behind an option you have to turn on. Second, know which save mode you are creating into. Some games keep a single list of custom wrestlers. Others keep separate lists per mode, so a wrestler built for a story mode may not appear where you expect later.
It also helps to know roughly how much room you have. Current 2K games advertise 200 wrestler slots, with 40-plus body templates to start from and layer pools split into roughly 60 attire layers and 40 head-and-body layers. Older games are far tighter, and some of the classic games from the 2000s had no slot cap at all but also no modern face tooling. You do not need to know the numbers, but you should know the ceiling exists.
If you are building a wrestler based on someone you know, take a reference photo in flat daylight before you start. Screenshots of a face lit from below ruin most attempts.
How to Create a Wrestler in a Wrestling Video Game
Step 1: Choose the Right Creation Mode
Three kinds of creator get sold under the same name, and picking the wrong one wastes an afternoon.
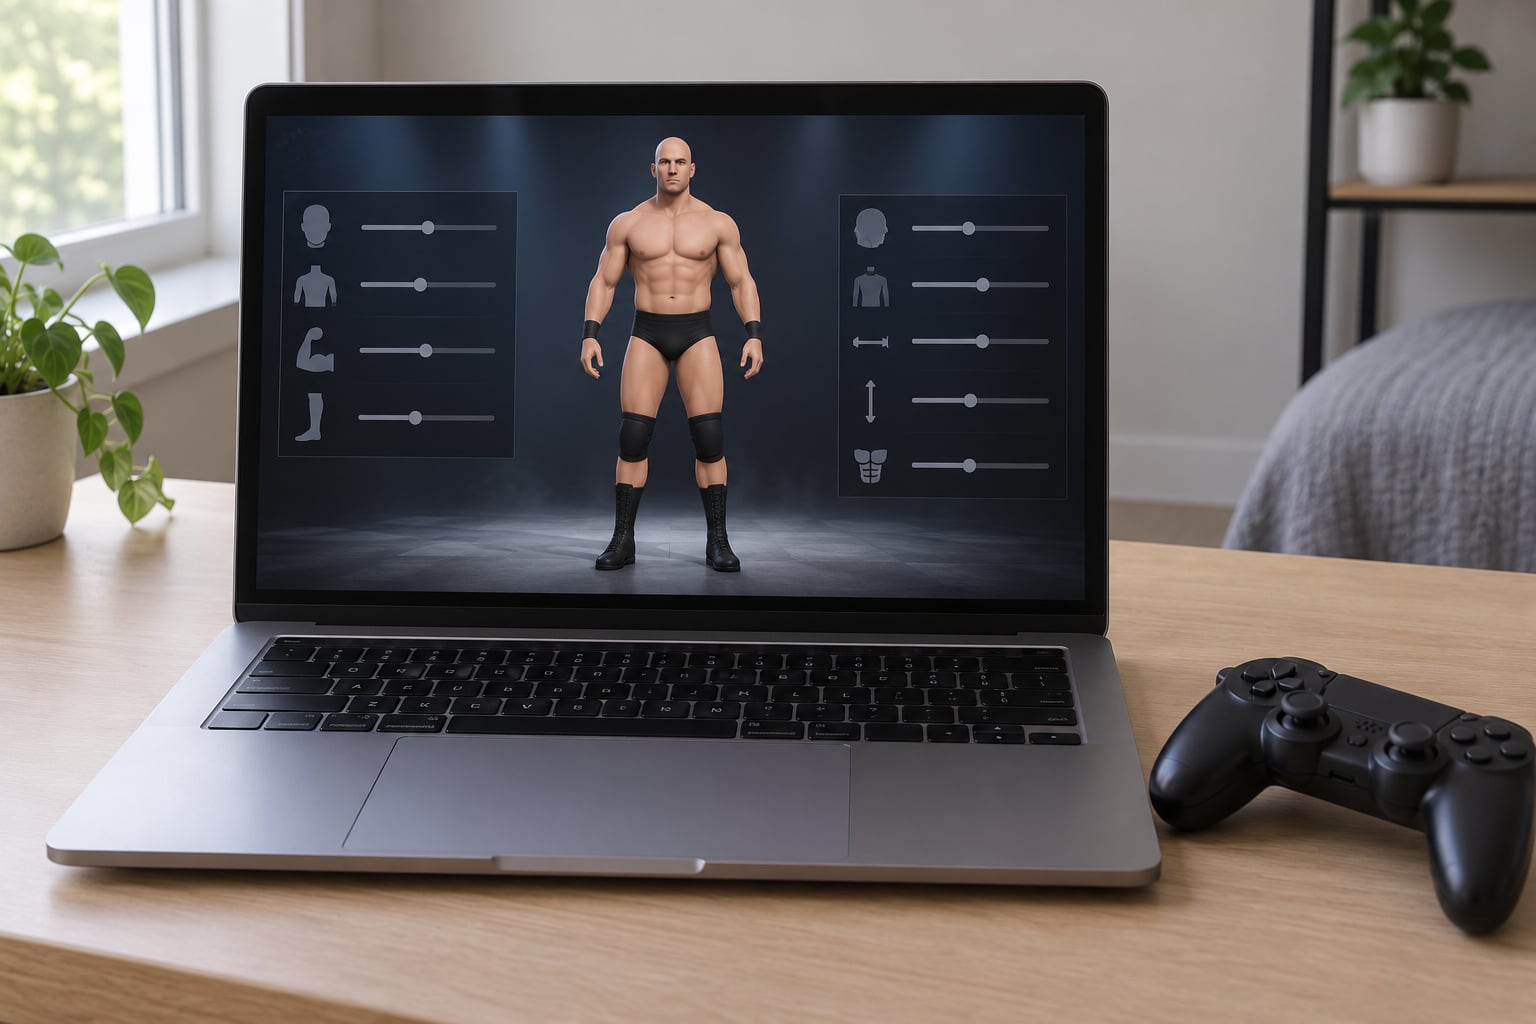
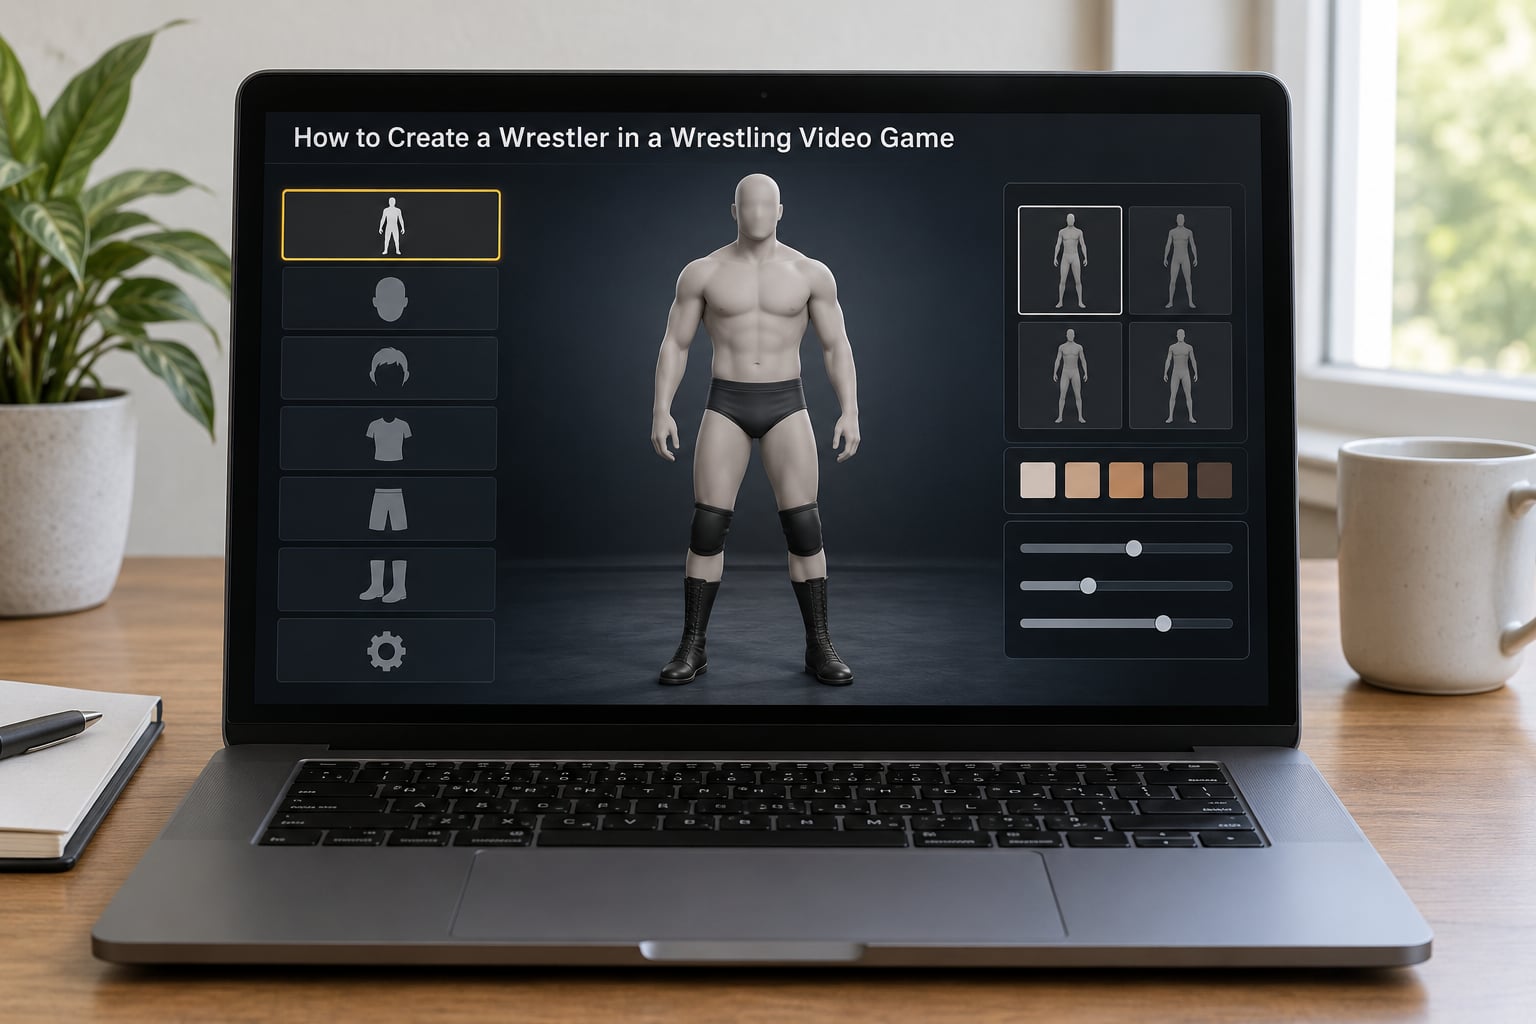
A realistic creator lets you start from a body template and morph proportions, then sculpt a face. This is the full path, and it is the one you want for anything resembling a person.
An avatar-based creator is a lighter tool. You pick a finished body and swap hair, gear and colors on top. It takes five minutes and it is genuinely useful for building a roster of original characters fast, but the underlying face and proportions are fixed.
An arcade editor is the odd one out. It uses a handful of presets for size and a small palette of bodies, with no real face work. That is normal for mobile and budget titles, not a sign you did anything wrong.
How do you tell which one you have? Look at the first screen after you enter the creator. If you see sliders for height and muscle, and a body you can rotate, you have the realistic one. If you see a row of pre-built characters and a wardrobe, you have the avatar one. Confirm it before you spend time, because you can lose an unfinished body by backing out.
| Game | Where the creator lives | What you can customise |
|---|---|---|
| WWE 2K26 | Main menu, then the creations hub | Body morph, face sculpting, layered attire, hair and body paint, full moveset, custom entrance, sharing |
| WWE 2K25 and 2K24 | Main menu, creations hub | Body morph, face, attire, moveset, entrance. Slightly smaller layer pools than 2K26 |
| AEW: Fight Forever | Create-a-Wrestler option on the main menu | Body presets, face, gear, hair, tattoos, moveset, entrance. Fewer body layers than the 2K games |
| Fire Pro Wrestling World | Create wrestler from the roster menu | Grid-based body and gear, stats and wrestling style, moveset. Limited facial detail |
| Wrestling Empire-style mobile titles | In-game edit or new wrestler option | Preset bodies, gear colors, moves. No face sculpting |
Check the game’s own feature page before you buy if you are choosing between titles. The creators differ far more than the marketing suggests.
Step 2: Set the Wrestler’s Identity and Role
Name and alignment come before any visual work, because several of the game’s systems key off them.
Give the wrestler a name, a nickname and a home region or promotion if the game asks for one. Then pick an alignment. Face, heel or neutral, whatever the game calls it. Alignment changes who the crowd cheers, which AI moves and taunts the wrestler uses, and sometimes the camera treatment during an entrance.
Next, choose a fighting style. This is the single decision that most affects how the wrestler plays, because the style set is tied to the moveset list. A technician will favour mat holds and limb targeting. A powerhouse gets power moves and slams. A cruiserweight gets high-flying offense. Pick it here and you will find the matching moves offered later instead of hunting for them.
Weight class, where the game offers it, locks some of this in for you. Choose one and the height and weight ranges tighten around it, which is a useful guardrail if you are new.
You can tell this step worked when the wrestler already looks and behaves recognisably before you touch their face. If the AI is already brawling and the entrance placeholders match the alignment, the identity took.
Step 3: Build the Body and Appearance
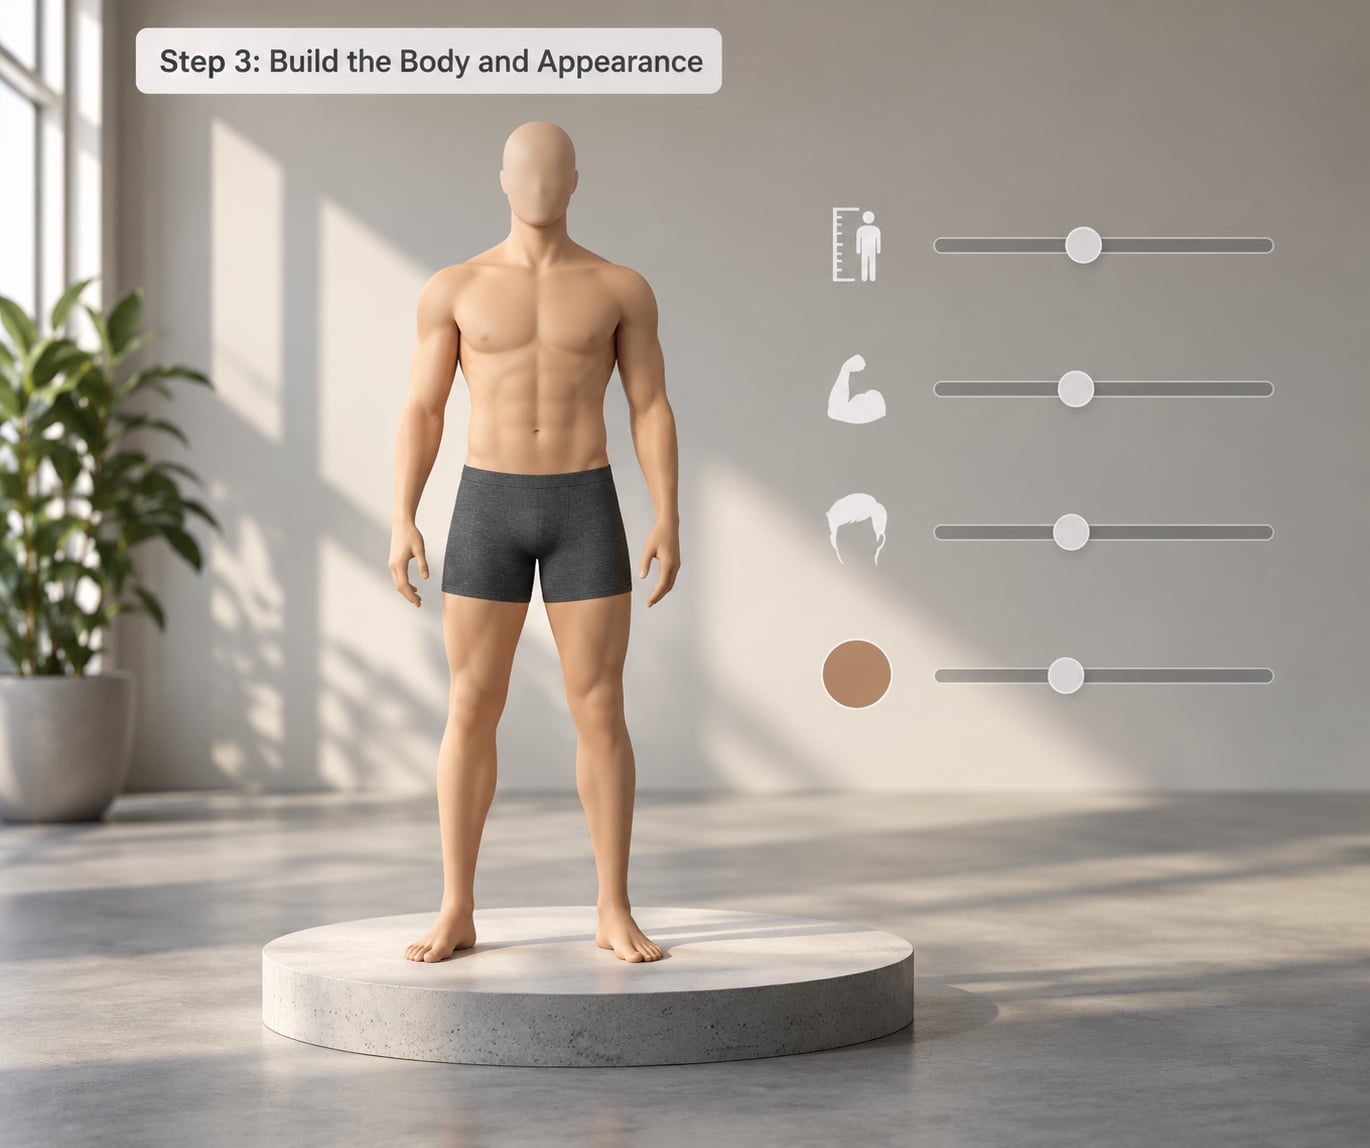
Start from the body template that is closest, then morph. Do not hunt for a perfect template first, because you will not find one. Pick the nearest and fix it with the sliders.
Height, weight and muscle are the three that matter most. Height and weight also feed into gameplay in most of these games: a heavier wrestler is slower to stand and moves differently in the ring, and a very light one has a different climbing and striking profile. Set the numbers for the style you picked in Step 2 and leave yourself a little headroom.
Then skin tone, which in most current games is a blend rather than a single swatch. Nudge the tone until the neck, chest and arms match each other under the in-game lighting. Mismatched tones are the fastest way to make a wrestler look synthetic.
The face is where most first attempts go wrong. Work the mid-face first: nose width, cheekbone height, jaw width and chin. Eyes and eyebrows come next. Mouth last, because mouth sliders shift how the rest of the jaw reads. Small changes, applied in that order, do most of the work.
Hair is the fastest way to make a face recognisable. Current 2K creators support two-tone blending and a hair dye tool, so you can do genuine highlights instead of picking one flat colour.
Here is a worked example. Take a mid-height, medium-build template. Push muscle up about a fifth of the range for a solid frame, drop body fat down slightly, set the skin tone a warm mid range, and give them close-cropped dark hair with a blond streak. Dress them in plain black trunks and boots with a single white stripe. Give them a heavy brow and a flat nose. That is a believable junior heavyweight, and it took about eight minutes.
For a luchador, keep the same sequence but change the last third: build the body first, then design a mask as gear rather than as face detail, and pick colors that read clearly on a small screen. A masked wrestler is easier to make convincing than an unmasked one, because the mask does the identification work that a face normally does.
Tattoos, scars, body paint and facial hair come after the body is right, never before. You can tell this step worked when you rotate the model and nothing looks stretched at the joints.
Step 4: Assign a Wrestling Style and Finisher
Match the moveset to the build. A large wrestler on a high-flying moveset looks wrong in motion even when it looks fine standing still.
Fill the generic slots first, then add signature moves, then the finisher. The order matters because the signature list often inherits from the finisher category, and picking a finisher first narrows what the game offers you next.
Check compatibility before you commit. Some moves are weight-gated, so a cruiserweight cannot be given a move built for a heavyweight. Some have a sturdiness or balance requirement. The game will usually grey out an incompatible pick, but on some titles it accepts it and the animation looks wrong in the ring.
Look at the animation preview, not just the name. Watch whether the wrestler ends the move somewhere sensible and whether the timing matches the weight you set. A finisher that takes four seconds of setup on a fast cruiser looks like a bug even though it is technically legal.
Give a custom wrestler two finishers where the game allows it, one primary and one variation. It costs nothing and it stops a long match from feeling repetitive. Add a few taunts and a dirtier set of moves if the style supports it, since those are the moves that show up in rivalries and championship segments.
Step 5: Set Behavior, Entrance, and Presentation
AI tendencies live in most current creators, often labelled as personality, AI or behaviour. Aggression controls how often the wrestler goes for a strike or a dirty tactic. Ring intelligence controls whether they work a limb or take a match into the corner.
Set these from the personality, not from what you want to win. A heel with high ring intelligence is a much more interesting match than a heel who just stands and swings. Once you have a set, watch one match before you change anything, because these are the settings you will forget about otherwise.
The entrance is its own editor in the current 2K games, with a timeline you can fill and layers you can trigger at points in the walkout. Music, motion, pyrotechnics and camera moves are separate layers, which is what lets you build something that looks designed rather than assembled.
Championship accessories and victory poses go at the end. Save a belt pose or two so the wrestler has something to do at a title win, because the default pose on a custom wrestler is the most obvious tell that a character was never finished.
You can tell this step worked when the entrance runs start to finish without you nudging a layer. If something fires at the wrong moment, the timeline marker is on the wrong frame.
Step 6: Test, Save, and Add the Wrestler to a Roster
Never save first. Test first.
Rotate the model through a full turn at close range, then step back and look at the whole figure. Check the face from the camera angle the game actually uses in matches, which is lower and further out than you expect. Check the hands, because mismatched skin tone on fingers is visible in every close-up.
Then run a short practice match. This is where you find out that the wrestler is slow, that the entrance motion clips through the ropes, or that the finisher animation throws them outside the ring. Three minutes in a test match beats twenty minutes of editing a wrestler nobody can watch.
When you save, confirm three things: the name is spelled right, the alignment is the one you want, and the figure is going into the list you will actually look at later. Games with multiple creation lists will happily save a wrestler where a story mode can use it and your exhibition roster cannot see it.
After saving, do something with them. Put them in a custom match, add them to a Universe draft, or start a story run with them as the avatar. A wrestler sitting in a slot is a screenshot, not a career, and the point of building one is to wrestle as them.
Current 2K games also let you upload creations to a community hub, and there are groups where members post and download character packs. If you are on PC, character files can be moved between installs through a mod framework’s export and import folders. Both routes are documented on the game’s own community boards.
Common Mistakes
Body and style fighting each other. A 250-pound heavyweight on a cruiserweight moveset is the most common mismatch, and it looks wrong in a way viewers notice immediately. Fix it before anything else. Go back to Step 2 and either change the style or pull the weight down, then re-check which moves are still available.
Rushing the face and then the gear. Detail on hair and tattoos makes a mediocre face look worse, because the eye goes straight to the face in a match cut. Fix it by finishing the body and head first, saving, and only then adding gear layers. Judge the face in a match, not on the creation screen, where the lighting flatters it.
Choosing effects before checking requirements. Picking pyrotechnics and a complicated entrance before you know whether the game supports custom entrance music on your platform means redoing the work. Fix it by checking what the entrance editor offers on your version first, then building to what is there.
Skipping the test animation. Name-checking a move is not the same as watching it. A wrestler can pass every menu requirement and still look wrong mid-move. Watch the preview, and if the game has no preview, find out in a practice match.
Saving to the wrong list. This is the mistake new players hit most often, and it is why players report creating a character and then losing track of it. Games with separate creation lists will save your wrestler where one mode can use it and another cannot. Fix it by checking the save target on the confirmation screen before you commit, and by naming versions so you know which is which.
Assuming your creation carries between editions. It usually does not. Body morphs, layer counts and even the creator’s menu layout have changed between releases, and a wrestler built in one generation may import with a different face or missing attire layers. If you are moving between versions, check the export or import route before you assume your wrestler came through intact.
One more worth naming: players frequently fill every slot with abandoned experiments and then run out of room. Decide what a finished wrestler looks like before you start, and delete the ones you never finished.
Frequently Asked Questions
Can I create a wrestler in every wrestling video game?
Most of them, but not all with equal depth. Current 2K titles, AEW: Fight Forever and Fire Pro Wrestling World all include a creator. Mobile and budget titles usually include a simpler one built from preset bodies and gear colors, with no face sculpting. Older games from the 2000s offered fewer parts but no slot cap. Check the feature list before you buy if the creator matters to you.
How do I make a custom wrestler use my own moves?
Set the fighting style first, then build the moveset from the list that style unlocks. Add signature moves next, then the finisher, because picking a finisher early narrows what the game offers afterward. Watch each animation preview to check the move suits the weight you set. Some moves are weight-gated and will not work on a lighter build.
Can I add my created wrestler to an existing roster?
Yes, in every game that has a creator. Once saved, a custom wrestler can be selected for exhibition matches the same way a roster superstar is. Games with a Universe mode or a draft system can add them to a running promotion as well. The catch is that each mode keeps its own list, so check that the wrestler was saved into the list the mode reads.
Is it allowed to make a wrestler that looks like a real person?
You can build a wrestler with a likeness of someone, including yourself, in games that offer face customisation or a photo import route. Publishing a creation that copies a real performer or a private individual is a different question, since it can infringe their rights and break the community sharing rules. Keep public uploads to original characters and your own face.
Can I create a wrestler on mobile or only on consoles?
On mobile, yes, with fewer tools. Titles like Wrestling Empire let you build a wrestler from preset bodies, gear and a moveset, and they are a good place to sketch out an idea. Consoles and PC give you face sculpting, body morphing, layered attire and custom entrances. Creating on mobile then moving to console usually means rebuilding, since files do not transfer.
Conclusion
Pick the most detailed creation mode your game has, because you can simplify later but you cannot add face sculpting back in. Set the fighting style before you touch a single slider, then build a balanced body that suits it. Add visual extras and signature moves after the body is right, and always run a practice match before you save.
Menus move between games, but the order holds. Anyone working out how to create a wrestler in a wrestling video game ends up in the same six steps: identity, body, moveset, entrance, test, save. Learn that order once and the wrestler is finished in half an hour instead of three nights.